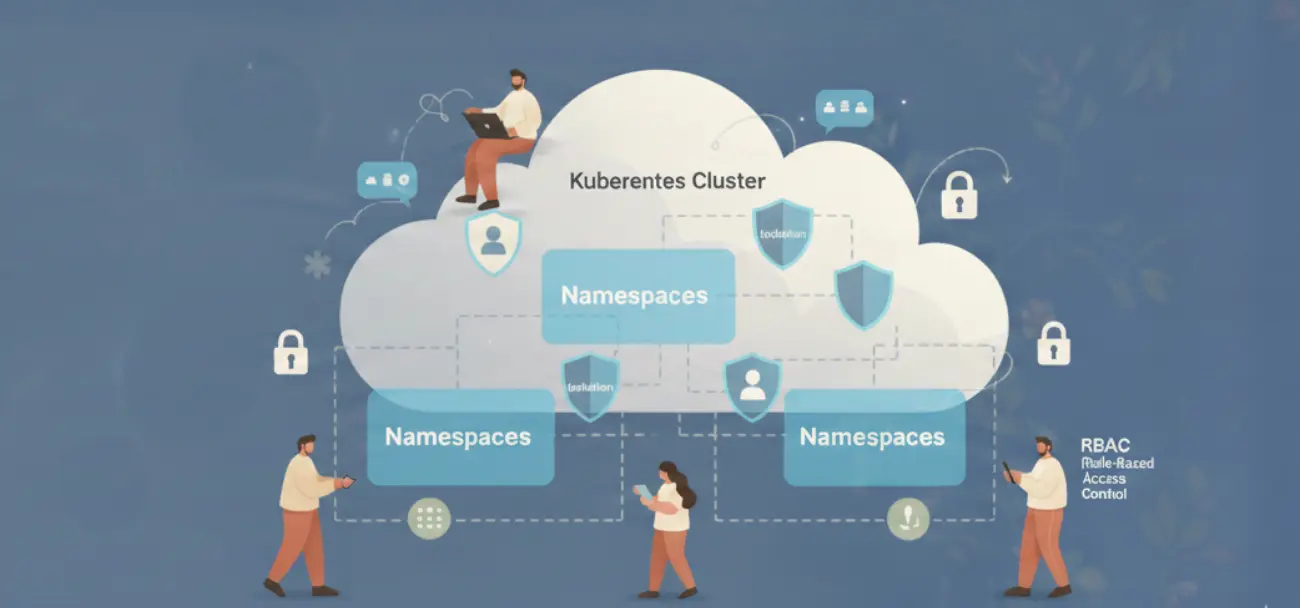
Most teams running shared Kubernetes clusters believe they have isolation. They have namespaces. They have different teams deploying to different namespaces. It feels like separation. It is not.
Kubernetes was designed as a single-tenant system. Multi-tenancy is not a built-in feature. It is a property you construct by layering four controls: namespace scoping, RBAC, network policies, and resource quotas. Miss any one of them, and you do not have multi-tenancy. You have an illusion of it.
This post covers each layer specifically: what it enforces, what it does not, and how to configure it correctly.
Multi-Tenancy in Kubernetes Is Not a Feature: It’s a Configuration Problem
Out of the box, a Kubernetes cluster has no tenant separation. Every pod can reach every other pod on any port. Any service account token can be used to query the API server. No namespace has a CPU or memory cap. A single misconfigured workload can OOM a node and take down unrelated services running next to it.

The hardened state requires explicit work. That work has four parts.
Namespaces: Logical Separation With No Security Enforcement
A namespace is an API boundary. It scopes names: two services named api can coexist if they are in different namespaces. It scopes RBAC: a RoleBinding in namespace team-a does not grant access to objects in team-b. It scopes ResourceQuota objects.
That is the full extent of what namespaces enforce.
Namespaces do not restrict network traffic. A pod in team-a can send HTTP requests to a pod in team-b with no configuration required. There is no wall between namespaces at the network layer. The Kubernetes scheduler will also happily place pods from different namespaces on the same node, sharing CPU and memory.

This is the most common misunderstanding we encounter in production cluster reviews. Teams assume namespace separation means network separation. It does not. You need network policies for that.
RBAC Done Right: Least Privilege for Teams, Pipelines, and Operators
Kubernetes RBAC has two scopes: namespace (Role + RoleBinding) and cluster (ClusterRole + ClusterRoleBinding). The distinction matters more than most teams realize.
A ClusterRole bound via ClusterRoleBinding grants access to all namespaces and all cluster-level objects. This is appropriate for platform operators who manage the cluster itself. It is not appropriate for application teams, CI/CD pipelines, or monitoring agents.
RBAC evaluation uses OR logic. If a subject has two RoleBindings and one of them grants pods/exec, the subject can exec into pods even if the other binding does not allow it. There is no way to subtract permissions. Over-permissioning is additive and irreversible without deleting bindings.
| Persona | Role Type | Verbs | Scope |
|---|---|---|---|
| Dev team | Role | get, list, create, update, delete on pods/deployments/services | Their namespace only |
| CI/CD pipeline | Role | get, create, update on deployments/configmaps | Target namespace only |
| Platform operator | ClusterRole | All verbs, all resources | Cluster-wide |
| Read-only auditor | Role | get, list, watch on all resources | Specific namespace |
| Monitoring agent | ClusterRole | get, list, watch on pods/nodes/metrics | Cluster-wide (read-only) |
One specific footgun: every pod gets a service account token mounted at /var/run/secrets/kubernetes.io/serviceaccount/token by default. This token can authenticate to the API server. In a default cluster, that token has enough permissions to list pods and services across namespaces. Set automountServiceAccountToken: false on service accounts that do not need API access. That covers most application workloads.
For CI/CD pipelines, create a dedicated service account per namespace with exactly the verbs needed to update deployments. No get on secrets. No exec. No portforward. The pipeline does not need those and they should not have them.
Network Policies: Default Deny First, Then Allow What You Need
A NetworkPolicy is enforced by the CNI plugin. This is the first thing to verify: not all CNI plugins support NetworkPolicy objects. Flannel does not. Kubenet does not. If you are running either of those, NetworkPolicy objects are silently ignored. They exist in etcd, kubectl get networkpolicies returns them, but no traffic is actually blocked.
| CNI Plugin | NetworkPolicy Support |
|---|---|
| Calico | Full support, including global policies |
| Cilium | Full support, plus L7 HTTP policies |
| Weave Net | Full support |
| Flannel | No support |
| kubenet (GKE basic) | No support |
| AWS VPC CNI | Supported via Network Policy Controller add-on |
The correct pattern is default-deny-all applied at namespace creation, then explicit allow rules for each communication path.

The default-deny NetworkPolicy for a namespace looks like this in concept: it selects all pods in the namespace (podSelector: ) and specifies no ingress rules. Because there are no rules, no ingress is permitted. Then you add explicit allow rules as separate NetworkPolicy objects, one per communication path.
This approach is additive. Each team adds the allow rules they need. The platform team enforces the default-deny at namespace creation via a bootstrap controller or Helm chart. No allow rule, no traffic. That is the correct default.
Egress is harder to default-deny because pods need DNS (port 53 to kube-dns) and often need to reach the Kubernetes API server. A practical approach: default-deny ingress for all application namespaces on day one. Tackle egress after you have visibility into what each workload actually calls.
ResourceQuota and LimitRange: The Noisy Neighbor Defense
Without quotas, a single namespace can consume every CPU and memory resource on every node in the cluster. This is not hypothetical. A misconfigured batch job with no memory limit will grow until the OOM killer terminates pods, potentially across unrelated namespaces on the same node. The same uncapped resource behavior that causes CPU throttling in Kubernetes also drives evictions at the node level.
ResourceQuota sets limits at the namespace level: total CPU requests, total memory requests, total number of pods, total number of services. When a new pod exceeds the namespace quota, the API server rejects the creation with a 403. The runaway workload stops there.
LimitRange sets defaults and limits at the container level. Without it, a pod spec with no resource requests or limits is valid. The scheduler places it based on available capacity but it has no ceiling. LimitRange solves this by injecting a default request and limit when none is specified.

| Control | Scope | What It Enforces |
|---|---|---|
| ResourceQuota | Namespace total | Sum of all pods’ requests cannot exceed quota |
| LimitRange | Per container | Default request/limit if not specified; max ceiling per container |
The practical starting point: set ResourceQuota on every namespace at creation. Use CPU and memory requests as the primary limits. Set LimitRange defaults at roughly half the quota limit so a single untuned pod cannot exhaust the whole namespace by itself.
Idle Namespaces Are an Open Attack Surface
Multi-tenancy is not just about isolation between active tenants. It is also about reducing the surface area of tenants that are not actively in use.
A dev or staging namespace with running pods has active service account tokens, open TCP connections, and running container processes. If an attacker gains access to one idle pod through a vulnerable image, an exposed debug endpoint, or a misconfigured ingress, they have a live credential to the Kubernetes API. The namespace is “idle” from your team’s perspective but fully alive from an attacker’s.

This is where automated environment lifecycle management addresses multi-tenancy directly. Suspending non-production namespaces during off-hours by scaling deployments to zero means no running pods, no active service account tokens in memory, no open ports, and no container processes to exploit.
The security benefit compounds with the cost savings. A suspended staging namespace costs nothing and presents no attack surface. Bringing it back up on demand takes under 60 seconds. The tradeoff is zero.
For teams managing multi-tenant clusters, treating idle environment cleanup as a security control, not just a cost control, changes the calculus. It makes the Kubernetes cost management conversation relevant to security engineers, not just finance.
The sequence for a correctly hardened multi-tenant namespace is: create with default-deny NetworkPolicy, bind least-privilege RBAC, apply ResourceQuota and LimitRange, and suspend workloads when not in use. Each step is independently valuable. Together they give you actual isolation, not the appearance of it.